The YubiKey FIPS 140-2 Token is a hardware-based authentication device that is used to protect user accounts. The device is compact enough to fit in your purse or wallet.
It enables users to generate cryptographic keys (On the device, a randomly generated private and public key pair is created and will be used to protect your accounts) and carry out attestation (ensures authenticity- saying that the user has complete control over the device and that the private key produced on the device has not been stolen) to show their identity to third parties.
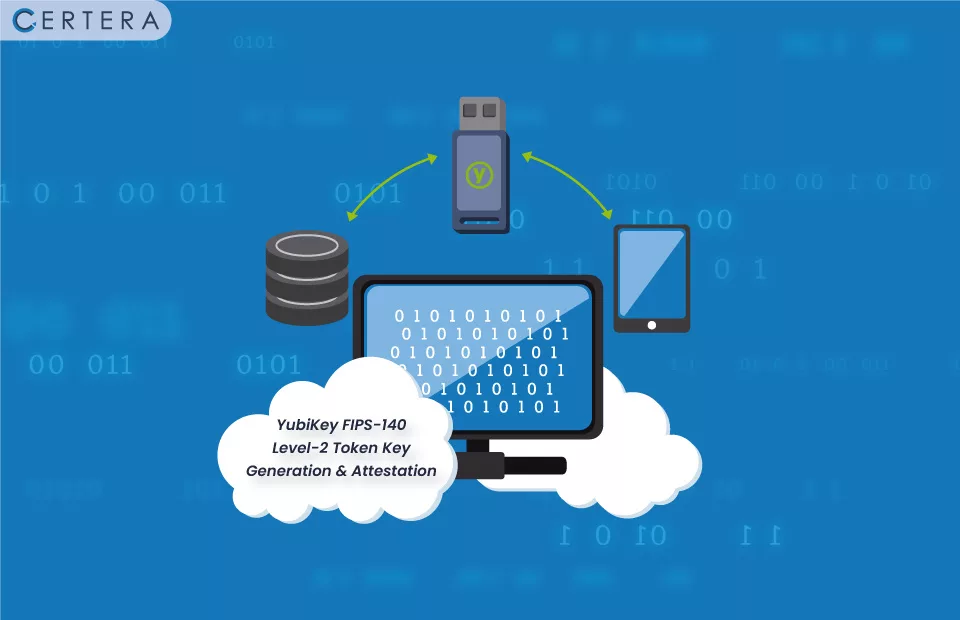
This article will go through private key creation and attestation with YubiKey FIPS 140 Level 2 Token.
Your private key must be securely produced and held on an external FIPS-validated hardware device instead of your personal computer for the sake of the Standard Code Signing Certificate, EV Code signing Certificate, and Digital Signature.
Certera potentially provides standard/ev code signing installed by default on FIPS 140-2 verified privacy key USB tokens, but customers may also build a key generation and an attestation document that verifies that the private key was generated on the device using a current YubiKey.
The attestation proof is later utilized to get certificates from Certera.com, which may be manually deployed on the YubiKey.
Road Map for Key Generation and Attestation:
You need to follow the following steps:
- Using your Yubikey FIPS hardware token, create a key pair and a verification (attestation) certificate.
- Validating the attestation certificate and linking it to a certera.com EV Code Signing Certificate order.
- Adding the newly issued certificate to the YubiKey.
1st Phase: Create a YubiKey key pair.
- Download and install YubiKey Manager from Yubico’s website if you haven’t done previously. There are versions for Windows, macOS, and Linux.
- Insert your YubiKey, then run YubiKey Manager. In the YubiKey Manager window, your YubiKey should be visible.
- Go to Applications > PIV.
- Select Configure Certificates option.
- Choose the button for the YubiKey slot in which you want to produce the key pair. Choose Authentication when purchasing an EV code signing certificate. Select Digital Signature for PDF document signing. We’ll utilize “Authentication” in this instance.
- Select the Generate option.
- Click the Next button after selecting CSR (Certificate Signing Request)
- Choose an Algorithm from the list that appears. Select RSA2048 for document signing. Select ECCP256 / ECCP384 for the EV code signing.
- Select the Next button before entering a Subject Name for the certificate.
- Select the Generate option.
- Choose an appropriate location to store the CSR file, specify a filename, and then select the save option.
- Type the management key for your YubiKey, and then press OK.
- Confirm your YubiKey PIN and then press OK.
- The CSR file will be saved at the location you selected in step 11.
2nd Phase: Generate an Attestation Certificate
Each YubiKey has already been loaded with a Yubico private key and certificate, which enables you to create an attestation certificate to validate that a YubiKey created a private key. This process will necessitate the usage of the command line.
- Open PowerShell as a system administrator on Windows. Users of macOS and Linux should launch a terminal window on their system.
- To get to the YubiKey Manager files, use the following command:
cd "C:\Program Files\Yubico\YubiKey Manager"macOS:
cd /Applications/YubiKey\ Manager.app/Contents/MacOSLinux:
The ykman command is already present in your PATH on Linux (Ubuntu), so you may bypass this step.
- Use the following command to create an attestation certificate for the key.
Windows:
.\ykman.exe piv keys attest 9a ATTESTATION-FILENAME.crtmacOS:
./ykman piv keys attest 9a ATTESTATION-FILENAME.crtLinux (Ubuntu):
ykman piv keys attest 9a ATTESTATION-FILENAME.crt- Subsequently apply the “ykman” cmd to transfer the intermediate certificate from YubiKey slot f9.
Windows:
.\ykman.exe piv certificates export f9 INTERMEDIATE-FILENAME.crtmacOS:
./ykman piv certificates export f9 INTERMEDIATE-FILENAME.crtLinux (Ubuntu):
ykman piv certificates export f9 INTERMEDIATE-FILENAME.crt3rd Phase: Validate the Attestation Certificate using certera.com and attach it to the order.
- We will utilize our attestation certificate from YubiKey slot 9a and a Code signing certificate order.
- Open the CSR and Key File using a text editor (notepad).
- Open certera.com and login into your user account
- Go to the Orders page > click on View All Orders
- Click on the Order_ID of the order which you wish to associate with the attestation certificate.
- Click on the Enroll Button to take you to the certificate enrolment page.
- In the “Input CSR” section, copy and paste the CSR (Certificate Signing Request) data you created using the YubiKey token.
- In the “Organization Detail” section, add your organization information.
- In “Organization Contact Information” add the correct contact information of your business.
- In “Select HSM Type”, select your favorable method, YubiKey or Luna.
- In “Input Key Attestation” add copy of the Key Attestation data.
- Copy the attestation certificate and paste it into the Attestation Certificate.
- In Note Section, add anything you wish from us.
- Click on “I Agree to the Certificate Services Agreement”.
- Submit the form by clicking the Submit button.
- If there is any error, it will be displayed on your screen.
- If the Attestation runs successfully, a successful attestation message will be displayed.
- Back to the order in your account; the successful attestation will be included.
How to Install the Certificate to your system and HSM?
Once your Certificate Signing Request (CSR) and key attestation have been verified and approved by your Certificate Authority (CA), you will be issued a code signing certificate.
The next step involves downloading this certificate to your system and Hardware Security Module (HSM) for secure code signing operations.
To install the code signing certificate in your YubiKey, follow these steps:
- Launch YubiKey Manager and navigate to “Applications” and “PIV.”
- Click on the “Configure Certificates” button to proceed.
- Select the tab corresponding to the same YubiKey slot where you initially generated the key pair.
- Click the “Import” button to begin the certificate import process.
- Locate your end-entity certificate file on your system and click the “Import” button to initiate the import.
- Enter your YubiKey’s management key when prompted, and then click “OK.” The default management key is: “010203040506070801020304050607080102030405060708.”
- Next, you will be asked to provide your YubiKey’s PIN. Enter the PIN and click “OK.” The default PIN is: “123456.”
You will install the code signing certificate in your YubiKey by following these steps diligently. This allows for secure and trusted code signing operations using the cryptographic capabilities of your YubiKey.
Embrace the heightened security measures provided by the hardware-based certificate storage to effectively protect your code signing endeavors.