How to Set up WordPress Multisite Wildcard Subdomains on Plesk?
It is now one of the most popular and flexible content management systems (CMS) or content management software that helps millions of users create and manage their personal, business, or organization’s websites.
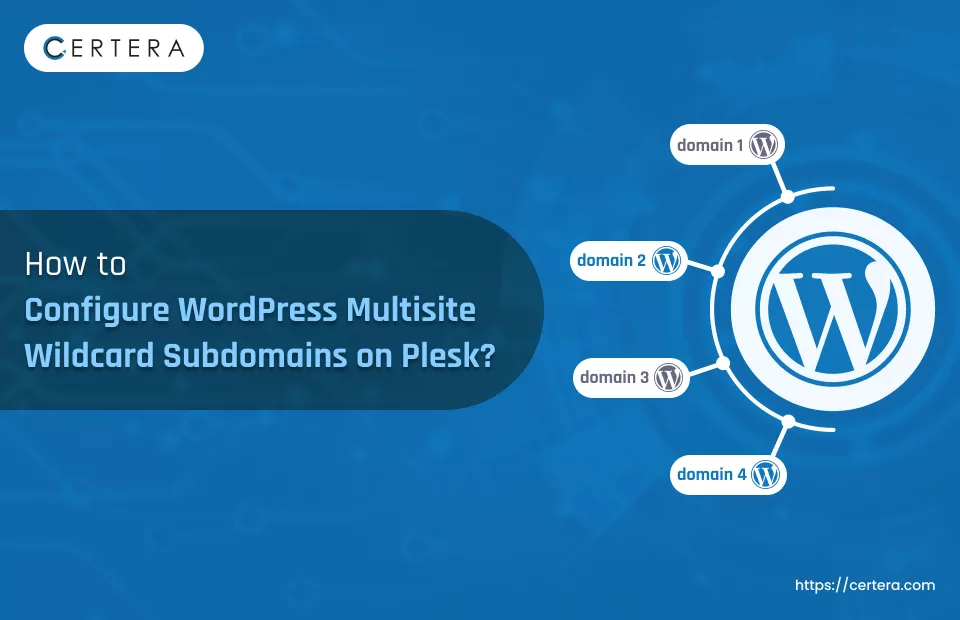
Another advantage to the platform is the opportunity to develop a multisite network, which enables the administration of several sites based on one WordPress.
But with subdomains, there often arises a problem of having to issue individual SSL/TLS certificates for all subdomains. This is where wildcard subdomains come in handy, as this option is quite reasonable and does not require much effort.
Here, we will explain the step-by-step procedure to enable WordPress Multisite subdomains wildcard on Plesk, a widely used hosting control panel.
Prerequisites
- A Plesk server with administrator access
- WordPress installed on your Plesk server
- A domain name configured in Plesk
- SSL certificate (preferably a wildcard SSL) for your domain
Step-by-Step Configuration of Plesk Wildcard Subdomain
Step 1: Obtain a Wildcard SSL Certificate
To get to the configuration stage of WordPress Multisite with wildcard subdomains in Plesk, you must acquire a valid wildcard SSL certificate from a certified Certificate Authority.
Many reliable certificate authorities have wildcard certificates. Among them are Certera, Comodo DigiCert, and many others.
When buying the domain, you must input the principal domain name, that is, the live one (for instance, example.com), and prove your ownership of the specific domain or the site in question.
Step 2: Install the Wildcard SSL Certificate on Plesk
First, you should obtain the wildcard SSL certificate for your domain; after that, you should install it on the server that is using Plesk. Follow these steps:
- Click on the option named ‘Log in to Plesk’ to gain access to your account, whereby you will be directed to your Plesk panel.
- Go to the “Domains” tab and choose the domain you wish to modify.
- In the management panel, navigate to the hosting settings tab and then, the SSL/TLS certificates tab.
- In this case, go to the next level and click on the ’Add SSL Certificate’ button.
- Select the required mode of installation of the certificate (for instance, upload the files with certificates or copy the certificate’s contents).
- Fields with an asterisk (*) are required; fill in the necessary details and attach or copy and paste the wildcard certificate and the wildcard certificate’s private key using the buttons provided.
- After you make them, click OK to confirm the changes that you have made.
Also Read: How to Install SSL Certificate on Plesk?
Step 3: Enable SSL for WordPress Multisite
After installing the wildcard SSL certificate on Plesk, you must enable SSL for your WordPress Multisite network. Follow these steps:
- Log in to your WordPress admin dashboard.
- Navigate to “Settings” > “General.”
- Under the “WordPress Address (URL)” and “Site Address (URL)” fields, update the URLs to use the “https://” protocol and your wildcard subdomain (e.g., https://example.com).
- Click “Save Changes” at the bottom of the page.
Step 4: Configure Multisite Network Settings
The next step will involve configuring the WordPress Multisite network, where it will be necessary to enable wildcard subdomains. Follow these steps:
- In WordPress, go to “My Sites” and select the “Network Admin” option from the dropdown) and then select the “Settings” option.
- In the left column of the Toolbar, click on the “Subdomains” link under “Operation Settings” and set the “Network Site Address Type” to “Subdomains“
- Middleware Configuration on the Install tab also check that in Subdomain Install should be your main domain (example. com).
- On the right side of the Certificate template, you will see the various fields that can be customized: name, course title, date, and message on the back of the certificate To save the changes you made, click on the “Save Changes” button at the bottom of the page.
Step 5: Update Existing Subdomains
If you already had any subsites in the WordPress Multisite network initially, their URLs must be changed to correspond to the new general subdomain format. Follow these steps:
- First, log in with your WordPress admin credentials, on the top toolbar click “My Sites” or simply navigate to “Network Admin” > “Sites”.
- Now, as for each existing subdomain: In the Subdomains list, open the subdomain you want to edit and click the Edit link.
- Replace the input called “Site Address (URL)” with the wildcard subdomain format, such as site1. example. com.
- Next to the “Go to this spot” button, click “Save Changes” at the bottom of the page.
Step 6: Test and Verify
Finally, it would be essential to ensure that configuration work properly; doing this entails the following:
Access one or more of your subdomains with an https connection and make sure the browser understands that the identified certificate is valid and does not show a broken padlock symbol that would indicate that the connection is not secure.
You may also use other online utilities, such as SSL Checker or SSL Labs, to assess various parameters of your SSL TLS settings.
These tools will help you to assess how strong or weak your encryption is, whether or not you have some gaps that need to be closed, or you’re looking good to go.
Conclusion
This setup streamlines administration, enhances flexibility, and allows for seamless growth of your online presence. By following this guide, you’ve established a robust foundation for your WordPress network.