Tutorial Guide for SafeNet Authentication Client for Code Signing
If you have landed on this guide, we would like to Congratulate you on obtaining your certificate. We will help you complete the setup process for the SafeNet Authentication Client!
It’s time to take your code signing journey to the next level. This blog will provide a step-by-step guide to help you successfully sign your code.
We’ll start by exploring the installation process for SafeNet Drivers and Client Software on Windows, ensuring that you have the necessary foundation to proceed. Once your setup is complete, we’ll dive into the intricacies of signing your code with an EV Code Signing Certificate.
But our journey continues beyond there. We understand the importance of verification and guide you through verifying your signed code to ensure its authenticity and integrity.
To add a powerful tool to your code signing arsenal, we’ll unveil the secrets of using SignTool. Discover how to sign your files efficiently and effortlessly, whether you choose the automatic or manual method.
Join us on this adventure as we demystify code signing for you to unleash the full potential of your software with every signature.
Instructions for Installing SafeNet Drivers and Client Software on Windows
You must install the SafeNet drivers and client software on your computer to enable code signer authentication and utilize your EV Code Signing Certificate token for code signing. Follow the steps below to complete the installation process:
Step 1: Download the SafeNet Authentication Client installer (SafeNetAuthenticationClient-x64.msi).
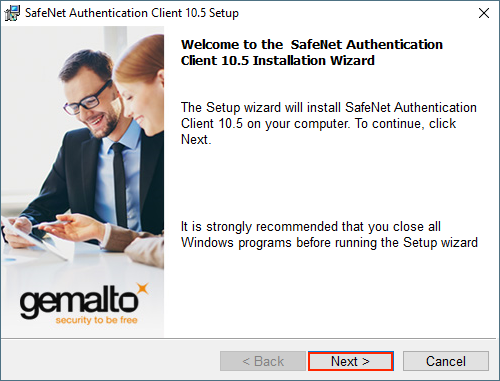
Step 2: The SafeNet Authentication Client Setup Wizard will launch. Press “Next” on the Welcome page to proceed.
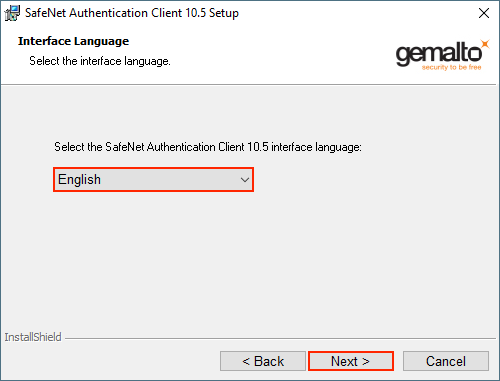
Step 3: Choose your preferred language from the drop-down list on the Interface Language page and click “Next.”
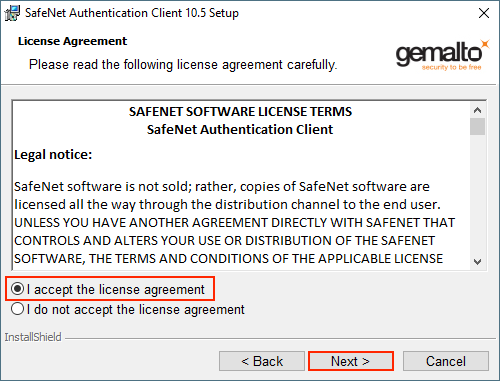
Step 4: Read through the license agreement on the License Agreement page. If you accept the terms, select the “I accept the license agreement” option and select “Next.”
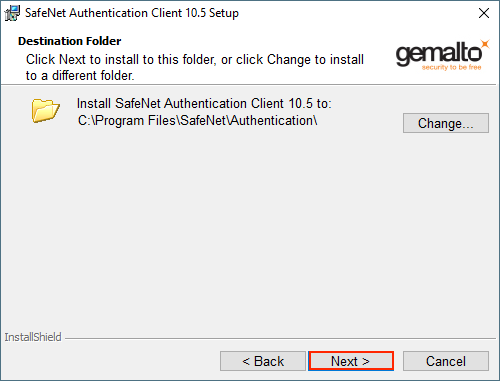
Step 5: Select the location to install the SafeNet Authentication Client on the Destination Folder page and pick “Next.”
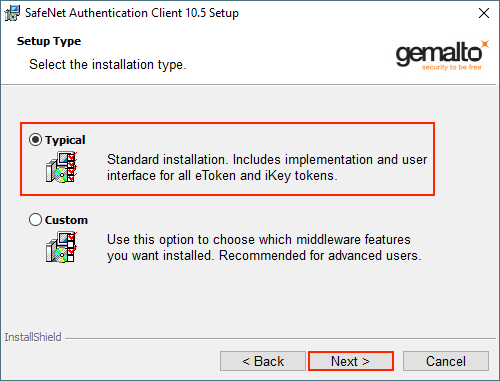
Step 6: Select the “Typical” installation type on the Setup Type page and click “Next.”
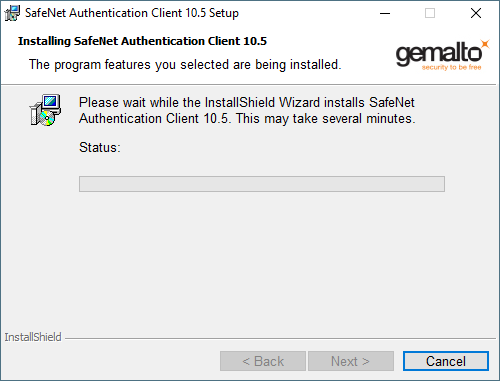
Step 7: Wait for the software to be installed. This step may take a few minutes.
Step 8: Once the installation is complete, you will see the “SafeNet Authentication Client has been successfully installed” page. Click “Finish” to exit the SafeNet Authentication Client Setup.

That’s it! You have now successfully installed the SafeNet Client Software on your Windows computer.
How to Sign a Code with EV Code Signing Certificate?
Before you begin the code signing process, make sure you have fulfilled the following requirements:
- SafeNet Setup: Ensure you have completed the SafeNet setup process, including installing the necessary drivers and client software.
- Windows Computer: Use a computer running the Windows operating system.
- Windows Development Kit: Install the Windows Development Kit on your computer to access the required tools for code signing.
Once you have met all the requirements, you can proceed with signing your code using the following steps:
Connect the Token:
Plug your token (Smart Card) into your computer’s appropriate slot.
Open SafeNet Client:
Launch the SafeNet Client software on your Computer.
Open Command Prompt:
Access the Command Prompt on your Windows computer. You can search for “Command Prompt” in the Start menu.
Copy and Paste the Command:
Copy the following command and paste it into the Command Prompt window:
signtool sign /tr http://timestamp.certera.com /td sha256 /fd sha256 /a "Insert_path_to_the_file_you_wish_to_sign"Replace “Insert_path_to_the_file_you_wish_to_sign” with the actual file path of the file you want to sign.
Enter Your Password:
After pasting the command, press Enter. SafeNet will prompt you to enter your password. Provide the required password for authentication.
Sign Your Application:
Once you enter your password, the code signing process will begin, and your application should get signed successfully.
Ensure you have the necessary components and enter the correct commands and password when prompted. It will allow you to sign your application with the desired certificate successfully.
Ensure Verifying the Signed Application
Before distributing your application to end users, verifying that the code has been correctly signed is crucial. Follow these steps to perform the verification:
Locate Your Application:
Open the folder storing your signed application.
Right-Click and Open Properties:
Right-click on the application file and select “Properties” from the context menu.
Access Digital Signatures:
In the Properties window, navigate to the “Digital Signatures” tab or menu. Click on it to view the digital signatures associated with the application.
Check Code Signing Certificate:
Look for your EV Code Signing Certificate in the list of digital signatures. Its presence indicates that the code has been successfully signed.
Troubleshooting
If you are still looking for the Digital Signatures menu or tab, there may have been an issue during the signing process. In such cases, you should revisit the signing process and sign the application again to ensure proper verification.
Once you have verified the presence of your Code Signing Certificate, you can distribute your application confidently, showcasing your name on it.
Our dedicated and friendly support team is readily available to assist you if you encounter any questions, concerns, doubts, or difficulties during the signing or verification process.
Feel free to contact our support team for any assistance in verification you may require.
Steps for Signing Your Files with SignTool
Once you have prepared your token and computer for code signing, you can begin signing your program using the SignTool command. There are two methods available: automatic and manual. Follow the instructions below based on your preference.
NOTE: Microsoft recommends using SHA-256 certificate/digest algorithm/timestamp for all applications and supports SHA-1 Code Signing Certificates until Jan 1, 2020. For more details, refer to the Windows Enforcement of Authenticode Code Signing and Timestamping page.
Automatic Signing (Recommended for Multiple Certificates):
If you have multiple Code Signing Certificates on your computer, manually selecting the certificate for signing is advisable. However, if you prefer automatic selection, follow these steps:
Step 1: Open a command prompt as an administrator.
Step 2: Execute one of the following commands based on the certificate type
To Sign Code with a SHA256 Certificate/Digest Algorithm/Timestamp:
signtool sign /tr http://timestamp.certera.com /td sha256 /fd sha256 /a "c:\path\to\file_to_sign.exe"To Sign Code with a SHA1 Certificate/Digest Algorithm/Timestamp:
signtool sign /t http://timestamp.certera.com /a "c:\path\to\file_to_sign.exe"Step 3: You will be prompted to enter your device’s password.
Step 4: Once completed, you should receive confirmation that the file was successfully signed and timestamped.
Manual Signing
To manually specify the Code Signing Certificate for signing your programs, follow these steps:
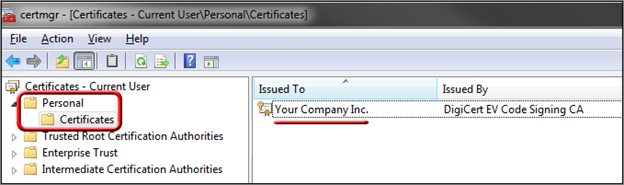
Step 1: Retrieve the subject name of the certificate:
- Open the Start menu, type “certmgr.msc,” then press Enter.
- In the certmgr window, expand Personal and go to Certificates to list all installed certificates for the user account.
- The certificate’s subject name is the text listed under the Issued To field.
Step 2: Use the subject name in one of the following SignTool commands:
To Sign Code with a SHA256 Certificate/Digest Algorithm/Timestamp:
signtool sign /tr http://timestamp.certera.com /td sha256 /fd sha256 /n "subject name" "C:\path\to\fileToSign.exe"To Sign Code with a SHA1 Certificate/Digest Algorithm/Timestamp:
signtool sign /t http://timestamp.certera.com /n "subject name" "C:\path\to\fileToSign.exe"Step 3: You should receive confirmation that the file was successfully signed and timestamped.
These steps overall help you sign your files using SignTool. Whether you choose the automatic or manual method, ensure the signing process is flourishing and you receive the confirmation message.
Activate your Safenet Token Step-wise:
To get started with your Safenet token and ensure successful activation, follow these steps:
Things you need:
- Safenet USB Token: You should have received a Safenet USB Token when you ordered a Standard Code Signing, PDF Signing, or EV Code Signing Certificate.
- Safenet Authentication Client: Ensure you have installed the Safenet Authentication Client on your system. Note that the new Safenet eToken 5110 CC (940) requires version 10.7 or higher of the client software.
Once you have arranged the above, we will begin initiating the following steps.
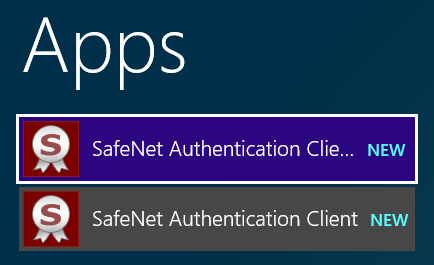
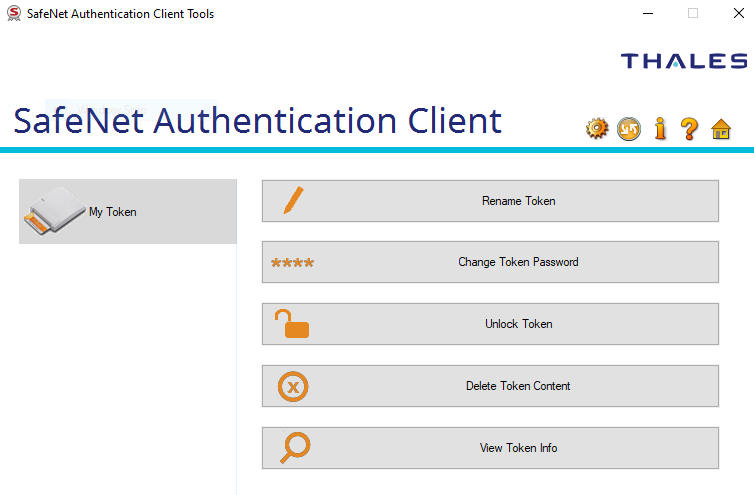
Step 1: Locate and launch the SafeNet Authentication Client Tools application on your computer.
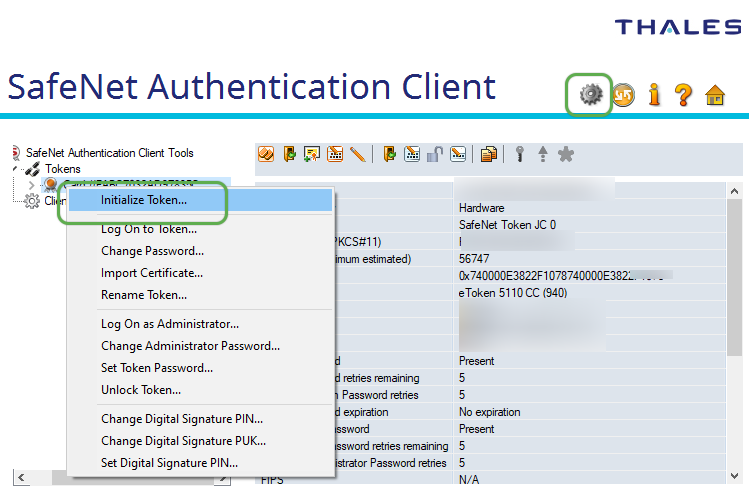
Step 2: In the SafeNet Authentication Client Tools, click on the Gear Icon located at the top right corner to switch to Advanced View.
Step 3: Right-click on your Safenet token (the name may vary) and select “Initialize Token” from the context menu.
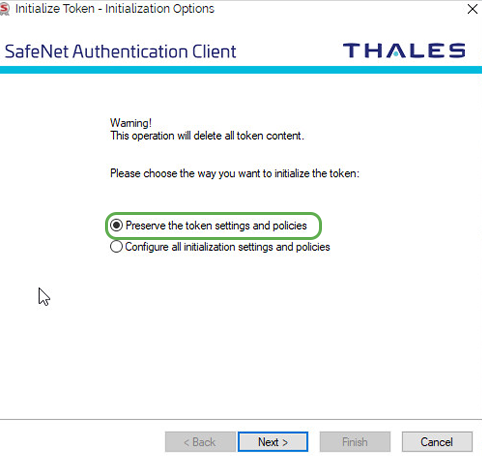
Step 4: Choose the option to “Configure all initialization settings and policies” when prompted.
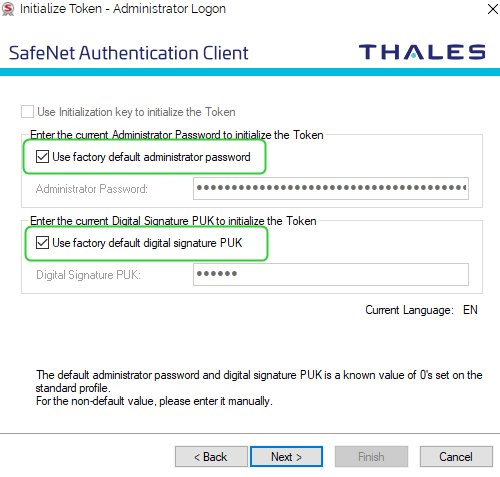
Step 5: Create a new password for your token.
QUICK NOTE: The default password for the new Safenet eToken 5110 CC (940) is “0000.” For older tokens, the default password is “1234567890.”
Step 6: Uncheck the box that says, “Token password must be changed on the first log-on.”
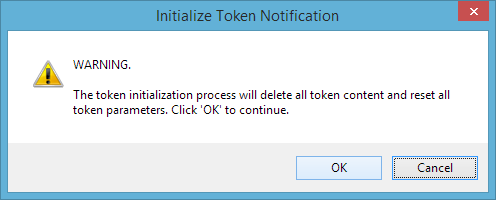
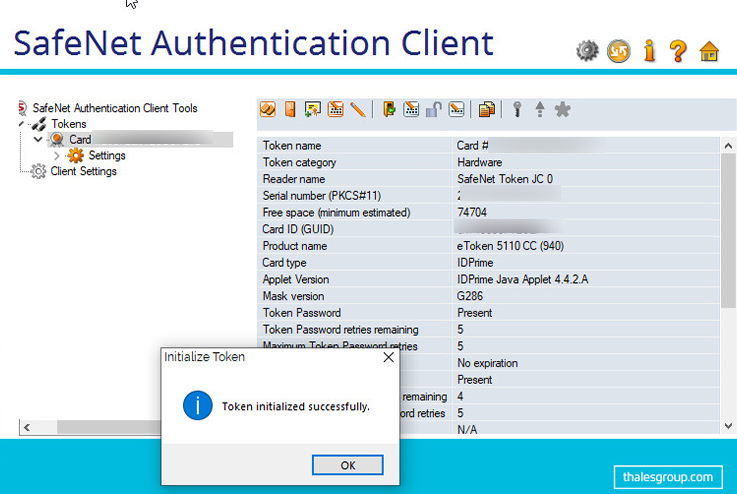
Step 7: Click “Finish” to complete the initialization process. A warning message will appear, notifying you that all current token contents will be deleted. Confirm by clicking “OK.”
Step 8: Once the process is completed, you will receive a notification. Click “OK” to acknowledge it.
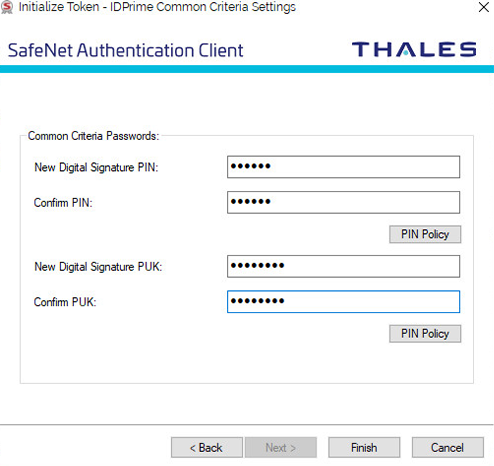
Step 9: Create New PIN and PUK Password.
Congratulations! Your SafeNet token is now initialized and ready to have a certificate installed and successfully activated. With a properly initialized token, you can confidently manage and utilize your Safenet USB Token for secure operations.