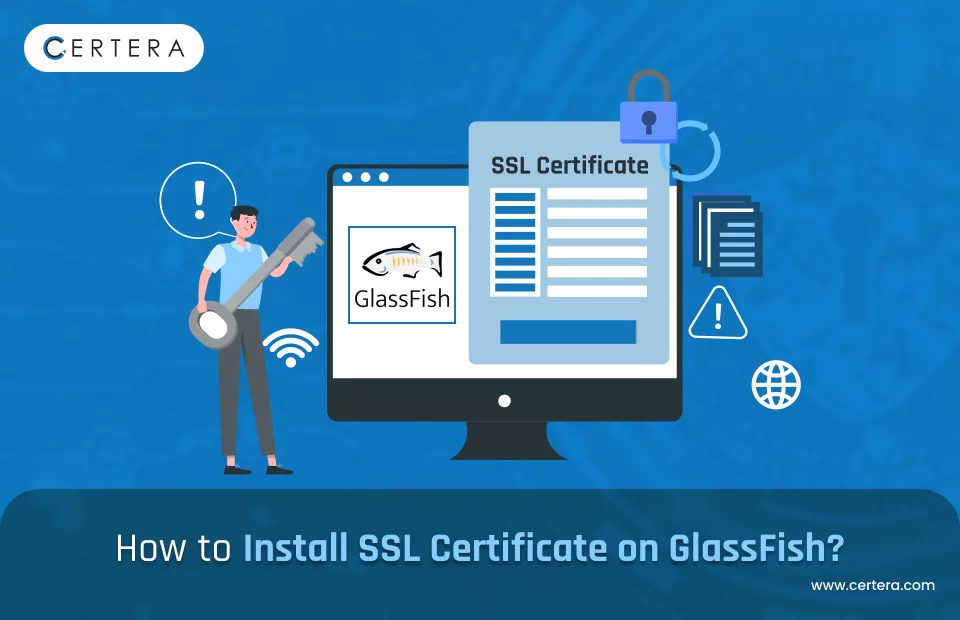
How to Install an SSL Certificate on GlassFish?
Do you want to install an SSL certificate on Glassfish but need help to understand it? Do not worry. We will help you.
Here are ways to put up a GlassFish SSL certificate. In case the need arises, the first section of this guide will explain how to generate a CSR (Certificate Signing Request) code in GlassFish.
The next section will focus predominantly on SSL installation, while the third one will cover some details about GlassFish. Lastly, in the final part of the tutorial, you’ll know where is the best place to purchase an appropriate SSL certificate for your GlassFish server.
Let’s begin
Generate CSR Code for Glassfish
The abbreviation of CSR is “Certificate Signing Request.” This encrypted message contains necessary information confirming the legitimacy of the website or business at CA’s end.
The first and most vital step when working with an SSL certificate is creating and sending a CSR code to your SSL provider, otherwise known as a Certificate Authority (CA). Your company and website details are included in this text block, constituting your CSR.
CAs use it to verify if your website and business exist legally. Your certificate can only be signed by the CA if they find out that there are no wrong data or stale entries in your CSR.
There are two options available to you:
- To generate the CSR automatically, use our free CSR Generator.
- Accomplish it manually.
After the CSR has been prepared, open the file in any text editor for instance, Notepad or TextPad and check it for spelling or typo concerns. Send it to a CA after you’ve verified that there are no errors. Depending on the type of validation you have chosen for your website, the time it takes for certificate files to get to you may vary.
As soon as you have the certificate, import these files into the GlassFish keystore that holds your secret key. The keystore is the same one you used to create your CSR. We can immediately start the installation procedure now that the prerequisite has been met.
Important note: If you complete the process manually, remember that the CA will only sign your certificate if any data you submit in the CSR is updated or accurate.
Installation of an SSL Certificate on GlassFish
Before installing, please make your SSL certificate files ready. CA sent it to you in the mail to the address provided by you, usually located in a folder.
Then, import them into the GlassFish keystore as certificate files containing your private key. You should still use the same keystore used to generate your CSR.
Step 1: Unzip/Extract All Files
First thing first; open your .zip folder sent by your SSL provider and extract all the contents within it. The SSL certificate files should have either PEM (.crt and .ca-bundle) or PKCS#7 (.p7b and .cer files) formats.
Choose a Format and Proceed with uploading:
PEM (.crt, .ca-bundle)
If you select the PEM format, you must first submit the CA Bundle files and your primary SSL Certificate file. To import the CA Bundle, enter this command:
keytool -import -trustcacerts -alias ca -file file.ca-bundle -keystore mykeystore.jksAs long as the alias is distinct from the keystore’s alias, you can use whatever name you want for it. You can import the actual SSL certificate after the CA Bundle.
To upload it to your server, use the command mentioned below:
keytool -import -trustcacerts -alias myalias -file file.crt -keystore mykeystore.jksPKCS#7 (.p7b,.cer)
If you use the PKCS#7 format, you can upload all the files at once by using the following command:
keytool -import -trustcacerts -alias myalias -file file.p7b -keystore mykeystore.jksYou will be prompted to enter your password for the keystore.
The myalias attribute should match the one configured for your keystore precisely.
If you can’t recall your alias, you can view it by going to the below command:
keytool -list -v -keystore mykeystore.jksStep 3. Import keystore into GlassFish default keystore
Importing the keystore into the default GlassFish keystore is the next step after it has been prepared. If you don’t know where it is or how to get to it, you can take the direction indicated below:
glassfish4/glassfish/domains/domain1/config/keystore.jksYou should use the GlassFish directory instead of the default directory if you intend to add other domains. Domain1 is created by the GlassFish server by default.
To import one keystore into another, use the command given below:
keytool -importkeystore -srckeystore mykeystore.jks -destkeystore keystore.jksStep 4: Enter the Password for each Keystore
The GlassFish master password for the domain and the GlassFish keystores need to be identical. Your SSL Certificate cannot be activated if the keystore, GlassFish, and private key passwords don’t match.
Step 5: Update the configuration of GlassFish
After successfully importing, you must change GlassFish’s setup to enable the new SSL certificate. This time, you are provided with two options:
- This can be done directly from your browser using the GlassFish Administration Console or
- Manually by modifying the domain.xml file
a. GlassFish Administration Console
- If you use the Admin Console, you must first allow your domain’s secure administration feature. To do it, execute the following command:
asadmin enable-secure-admin yoursite.comImportant note: Ensure to change yoursite.com to your actual domain name.
- After it’s enabled, go to https://yoursite.com:4848 to access the GlassFish Administration Console.
- The self-signed SSL certificate warning should be ignored, so carry on using the terminal. Navigate to:
Configurations > Server Configuration > HTTP Service > HTTP Listeners > http-listener-2.
- Select the “SSL” tab and type your certificate alias in the Certificate Nickname field. That’s the same as your alias for the keystore.
- Return to the General tab and set the HTTPS Port back to 443. By default, GlassFish is connected to port 8181.
b. Domain.xml
- Another method for configuring your SSL certificate in GlassFish is via Domain.xml.
- You can use this path to find the file (domain.xml) if you don’t know where it is:
path:glassfish4/glassfish/domains/domain1/config/domain.xml.
- We suggest suspending the GlassFish service for your domain and then opening the Domain.xml file to carry out a secure update.
- To stop GlassFish, execute the subsequent command:
asadmin stop-domain yoursite.com- Use the actual “domain name” in place of the word “yoursite.com.”
- Open the domain.xml file. You can use any text editor for this.
- To replace the attribute known as slas with the certificate alias (myalias), use the search option (Ctrl+F).
- Use the following command to start the domain after saving the file:
- asadmin start-domain yoursite.com
- You’ve installed your SSL certificate on the GlassFish server successfully.
Testing the State of Installation
Verifying or testing the certificate’s installation status is always recommended. Use SSL testing tools, like Free SSL Certificate Checker Tool (which can Quickly Check and Verify Your SSL Certificate Installation) to accomplish this.
With the help of this tool, you can quickly identify any vulnerabilities or mistakes while getting an in-depth analysis of them.
Where can I purchase a GlassFish SSL Certificate?
Certera is the most trusted provider of SSL certificates for GlassFish. We provide exceptionally affordable SSL Certificates. We’ve teamed up with the top SSL companies to provide your website with cutting-edge encryption.
Additionally, you can be sure that your website is in safe hands because of our excellent customer service. For all your SSL specifications, choose Certera!