How to Fix ERR_SSL_KEY_USAGE_INCOMPATIBLE Error?

What is ERR_SSL_KEY_USAGE_INCOMPATIBLE Error?
ERR_SSL_KEY_USAGE_INCOMPATIBLE is an SSL/TLS error that signifies a conflict between the indicated SSL/TLS certificate and key usage attributes or intended use.
This normally occurs wherein the key usage extensions of the certificate do not permit the operation under implementation during the SSL handshake process.
For instance, a certificate designed to be used for server authentication requires certain key usage attributes to be marked, including the digital signature and key encipherment.
If these attributes are not set or otherwise set incorrectly, the SSL/TLS handshake doesn’t happen and that leads to ERR_SSL_KEY_USAGE_INCOMPATIBLE error.
Causes of ERR_SSL_KEY_USAGE_INCOMPATIBLE Error
The ERR_SSL_KEY_USAGE_INCOMPATIBLE error can occur due to several causes related to the configuration and usage of SSL/TLS certificates. Here are some common causes:
1. Incorrect Key Usage Extensions
This error is commonly traced back to improper settings of key usage extensions in SSL/TLS certificates.
Every certificate must contain information on what kind of usage is allowed for that particular certificate, such as server authentication’s Digital Signature and Key Encipherment.
If these extensions are missing or set improperly, the SSL/TLS handshake fails and the error is raised, as is shown below.
2. Mismatched Certificate Purposes
It comes in handy especially for specific uses like server authentication or client authentication or even code signing. This is the error that can happen when a certificate is being used for a purpose different from the one intended.
For example, when trying to authenticate a server using a client certificate, you will get the error ‘This server certificate is not for client use and this client certificate is not for server use and this client certificate is not for server use ’ which corresponds to ERR_SSL_KEY_USAGE_INCOMPATIBLE.
3. Improper Certificate Chain Configuration
In this type of connection, the SSL/TLS handshake process entails checking the certificate chain starting from the server certificate through to the root certificate.
It can happen if there are misconfigurations involved with the intermediate certificates or the root certificate or if the key usage extensions are missing in it.
4. Expired or Revoked Certificates
The error may also occur when the certification authority has issued some certificates that have expired, have been revoked, or are not trusted by the operating system.
Also Read: What happens when your SSL Certificate Expires?
Although the kind of error that would be returned when the certificate has expired or the certificate authority has revoked the certificate might not be the same, this key usage incompatibility is one that can cause this error when it occurs during the validation process.
How to Fix SSL_KEY_USAGE_INCOMPATIBLE Error?
Create a Trusted Self-Signed Certificate
- Run Windows PowerShell: Open Windows Run by pressing Windows + R and type powershell and press ok.
- Enter the command: New-SelfSignedCertificate -Type Custom -DnsName “server”, “server.domain.local”,’192.168.0.1′ -KeyUsage “DigitalSignature”,”KeyEncipherment”,”KeyAgreement” -KeyAlgorithm RSA -KeyLength 4096 -CertStoreLocation “cert:\CurrentUser\My” -FriendlyName “EkranSelfSignedCert” -NotAfter (Get-Date).AddMonths(36) -Subject “EkranCA”
Terminologies explained:
- DnsName: Identify all names that the server computer can manage (Host name, Domain name and I.P address.
- KeyLength: KeyLength ≥2048 for securing, but some browsers will issue a caution if the KeyLength is less than 4096.
- CertStoreLocation: The physical address under which the certificate will be kept. This is limited to LocalMachine\My or CurrentUser\My.
- FriendlyName: A dummy name for the new created certificate.
- NotAfter: The date by which the certificate is valid until.
- Execution: After the command is run on the PowerShell window, you will see all the details of the created certificate.
Export the Trusted Self-Signed Certificate
1. Open Microsoft Management Console (MMC)
Right click on the Windows start menu and select run or press the Windows key + R, then type mmc in the run dialog box and click enter.
2. Add the Certificates Snap-in
- Amongst the options that you find in the User Account Control, ensure that you click on Yes.
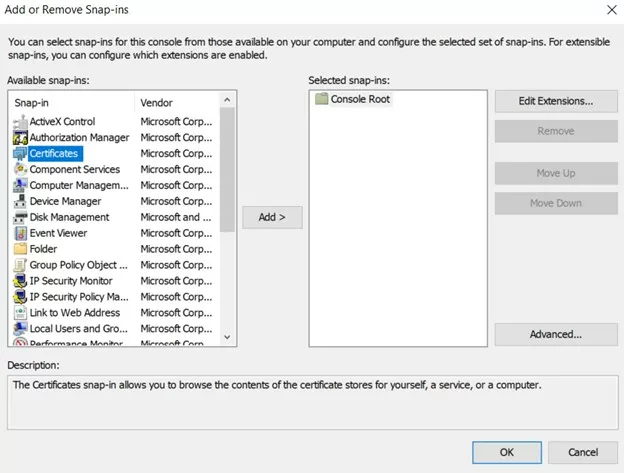
- On the current window in the console, click on add/remove snap-in and choose to add.
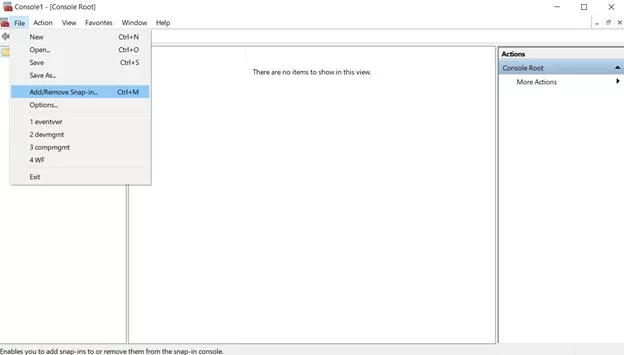
- Doing so brings up the Add or Remove Snap-ins window where you can click on Certificates and then OK.
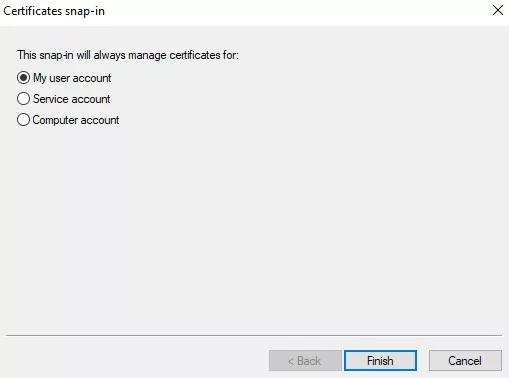
- After that you will see Certificates snap-in window, on that select My user account and then click on Next.
3. Navigate to the Certificate
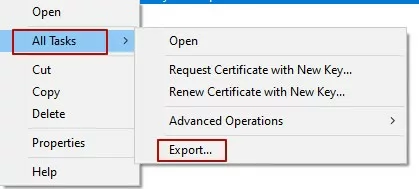
- In the Console Root, expand Certificates – Current User > Personal > Certificates.
- Right-click on your certificate (e.g., “EdenSelfSignedCert”), and select All Tasks > Export.
4. Export the Certificate Using the Wizard
- On the page – Welcome to the Certificate Export Wizard, click on Next.
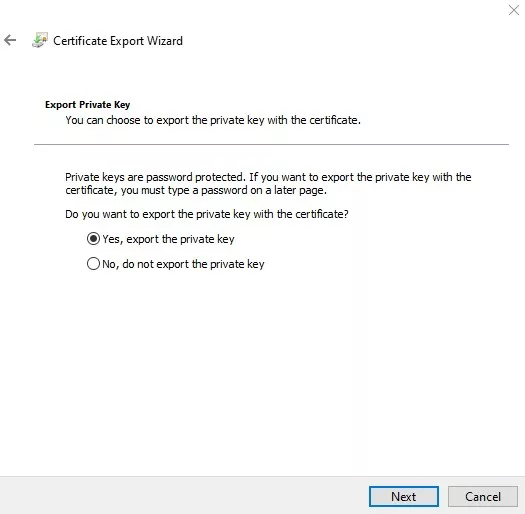
- On the Export Private Key page, to export the private key, click Yes and go to the next step.
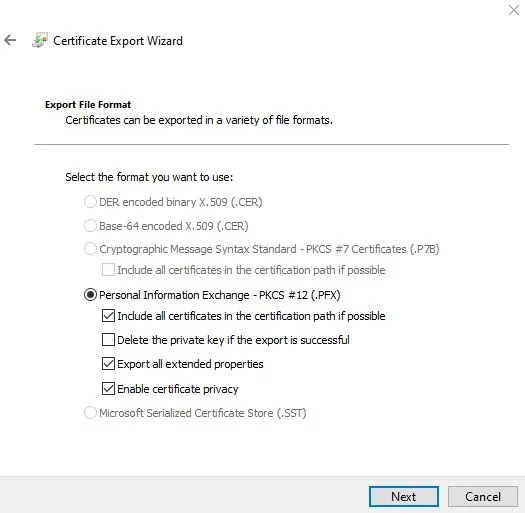
- On the Export File Format page, select the following checkboxes, and click Next:
- If possible, the certification path should contain all the certificates.
- Export all extended properties
- Enable certificate privacy
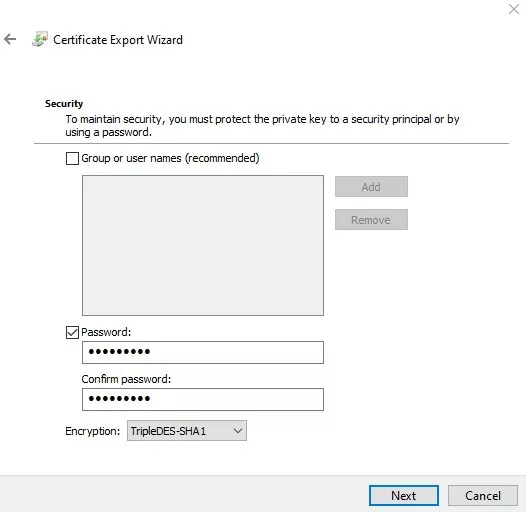
- In the Security page, type (and confirm) a password for the certificate, then click on Next.
- On the File to Export page, click Browse button, specify the place where the certificate will be exported, type the name of the certificate, and click Next.
- After you enter the password, click Next on the last page of the Certificate Export Wizard and then click Finish.
- When the confirmation message appears, close it by clicking ok.
3. Add the Trusted Self-Signed Certificate to the Trusted Certificates
- Go to the folder where the certificate export was done using the windows explorer utility.
- Locate the certificate file by clicking on the folder icon next to the Source item and then right-click the file and choose Install PFX.
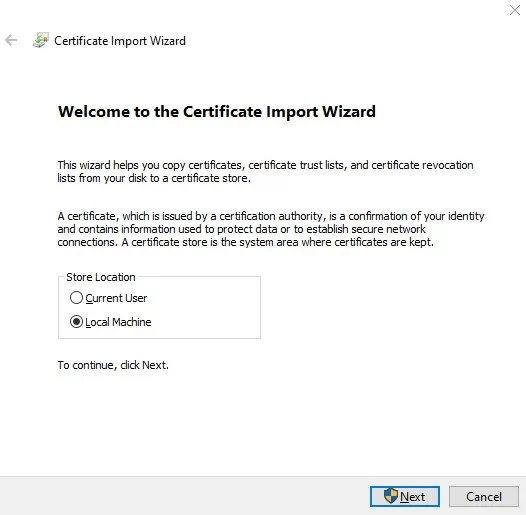
- Click on the Local Machine radio button on the Welcome to the Certificate Import Wizard page and then click Next.
- On the File to Import page, use the down arrow to select Next.
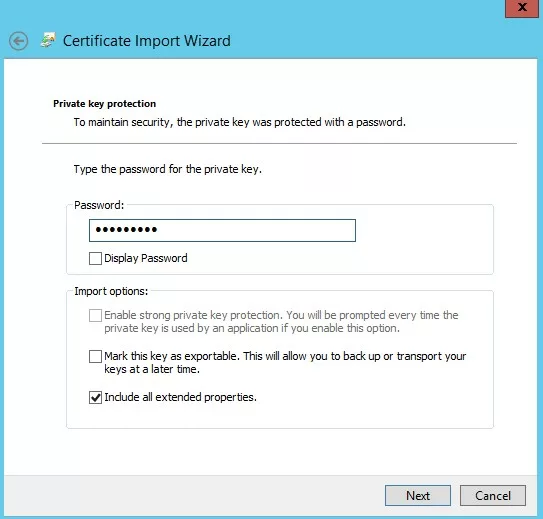
- In the Private key protection page, type the certificate password and click on ‘Next’.
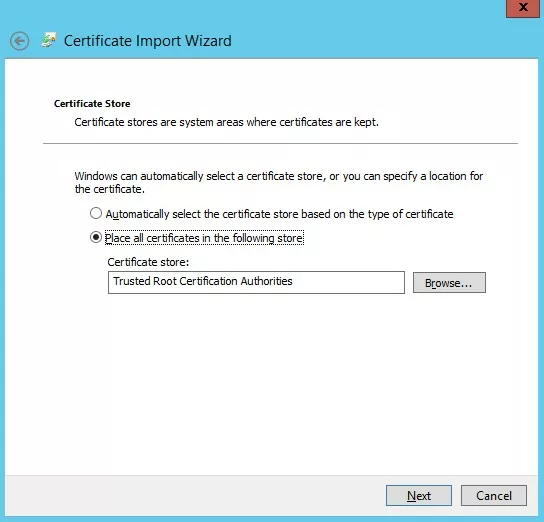
- On the Certificate Store page, choose Place all certificates in the following store, check out Trusted Root Certification Authorities, then click on Next button.
- To complete the Certificate Import Wizard, click on the Finish button on the last page of the wizard.
- Click ‘OK’ in the confirmation message.
4. Configure Internet Information Services (IIS)
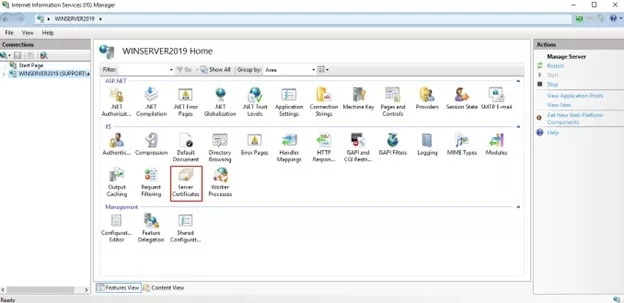
- Open Internet Information Services (IIS) Manager: Click on the start button on your keyboard and then on the run option by pressing the window key and the R key simultaneously, then type inetmgr and press Enter.
- Add the Certificate to IIS: Now, in the Connections panel, navigate to the node with the name of the target computer and then select Server Certificates.
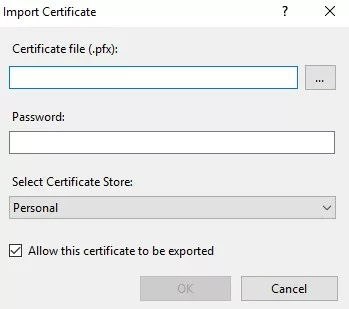
- On the page that is labeled Server Certificates, click on the Import link.
- In the Import Certificate dialog box, which appears, choose the desired certificate file and input the password if it is required, then press OK.
- In the Connections pane, locate and expand the node with the name of the target computer, and expand Sites, and then Default WebSite.
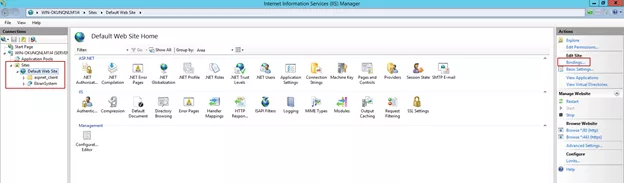
- In the Actions pane, right-click Bindings.
- In the window that opens to Site Bindings, double click on the https record.
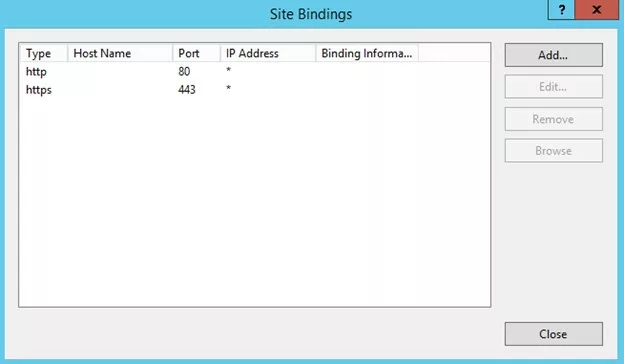
- In the Edit Site Binding window, under the Type list, select https and in the SSL certificate field, select the newly imported certificate (for example, EdenSelfSignedCert).
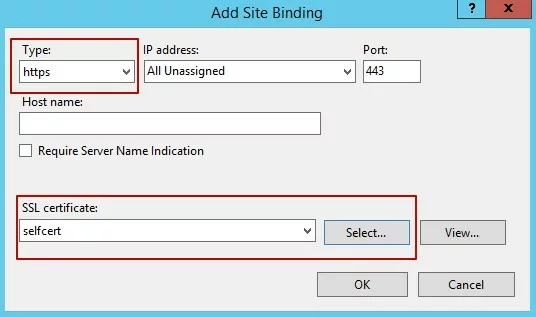
- In the Site Bindings window, click on the Close button near the bottom right corner of the window.
- Restart the Chrome browser. With it, you should be able to access the Management tool without running into the ERR_SSL_KEY_USAGE_INCOMPATIBLE error.
Conclusion
Certera has everything necessary including professional assistance to work on your behalf until you get the desired results. We are here to help in case you wish to fix ERR_SSL_KEY_USAGE_INCOMPATIBLE errors while offering you top-grade, reliable SSL/TLS certificates.

Remove Browser Security Warnings
Get rid of Browser Security Warnings like Not Secure Connection and Your Connection is Not Secure by Adding SSL Cert to Website.
Starts at Just $3.99/Year